How To Install Your PoleClinometer® “XL” Slope Meter
Note that this is the install page for the “XL” PoleClinometer kit. If you have the standard PoleClinometer kit, please find your instructions at the regular install page. If you do have the XL…
Follow this video, but ignore the parts about the heat-shrink sleeve. The new clear adhesive wrap that’s packaged with your new XL kit (per below instructions) is way easier.
You’ll Need
- your ski pole
- an “XL” PoleClinometer kit
- a pair of scissors
- a felt tip marker (optional)
Step-By-Step
Follow these simple instructions for an accurate install.
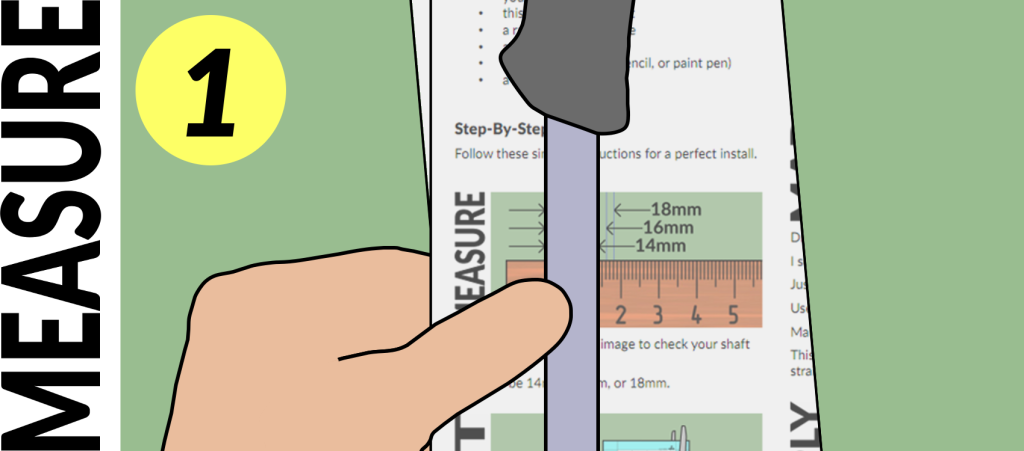
Measure your ski pole’s upper shaft diameter.
Use the image in your kit instructions or a metric ruler.
It should be 20mm or 22.5mm for the XL kit. See the XL page for details.
If you need to install SIZER(s) to fit, go ahead and do it now.
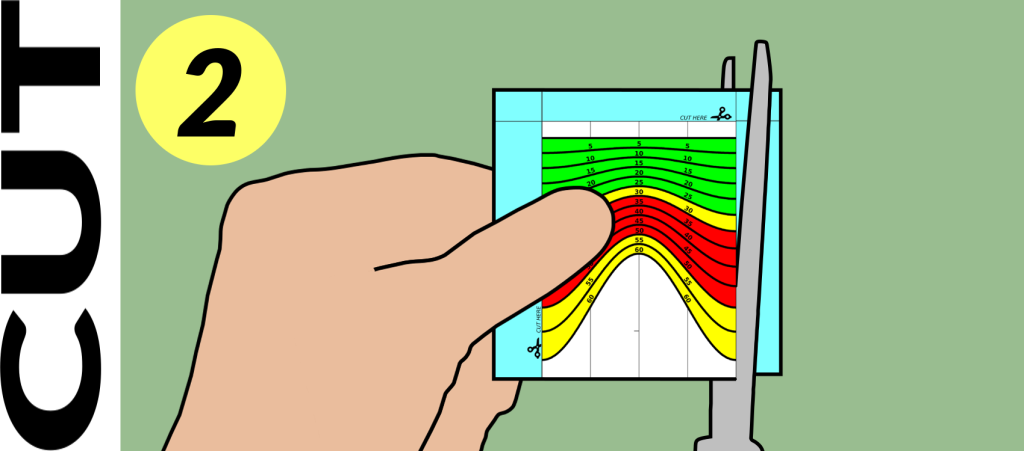
Find the sticker marked with your pole’s diameter.
Cut it out where indicated.
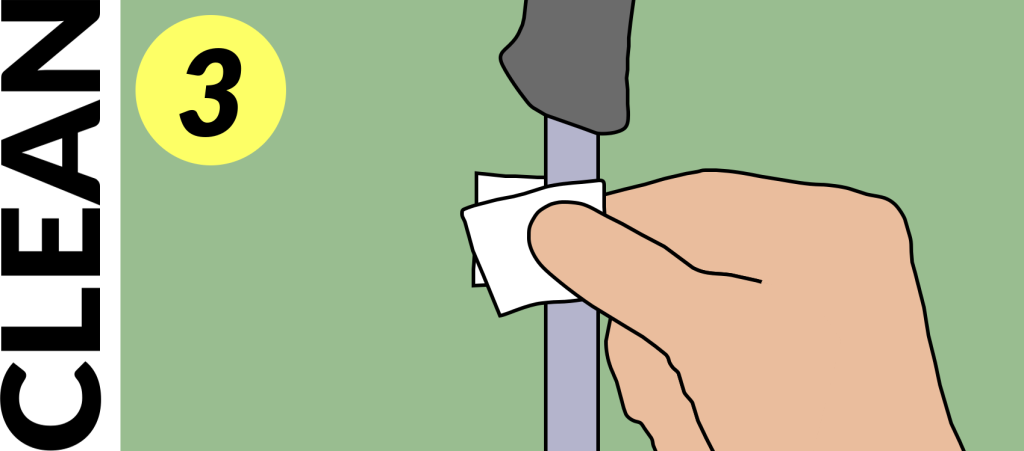
Wipe your pole shaft clean using the provided alcohol wipe.
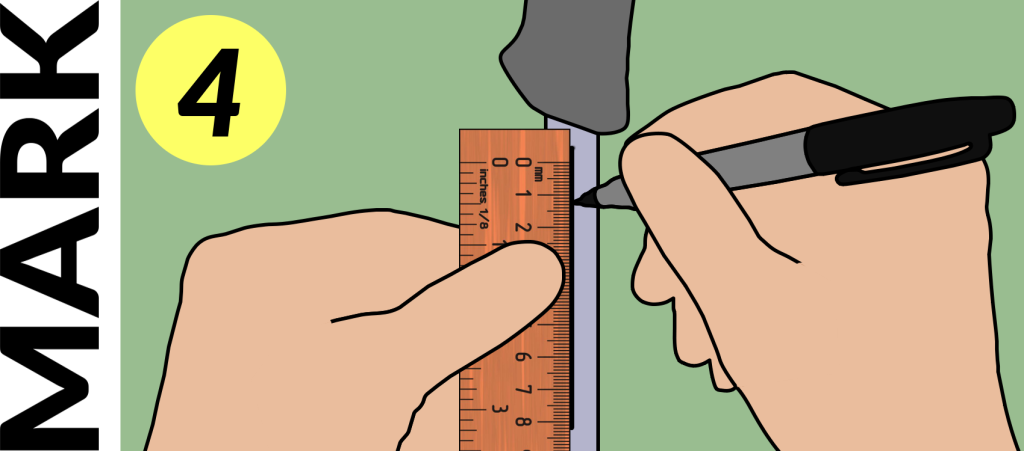
Draw a VERTICAL LINE on the SIDE OF YOUR POLE.
I suggest the left side of your pole if you’re right-handed.
Just below the grip is usually the best place.
Make sure your line is a bit taller than your sticker.
No marker? No worry. Just carefully eyeball it in the below step.
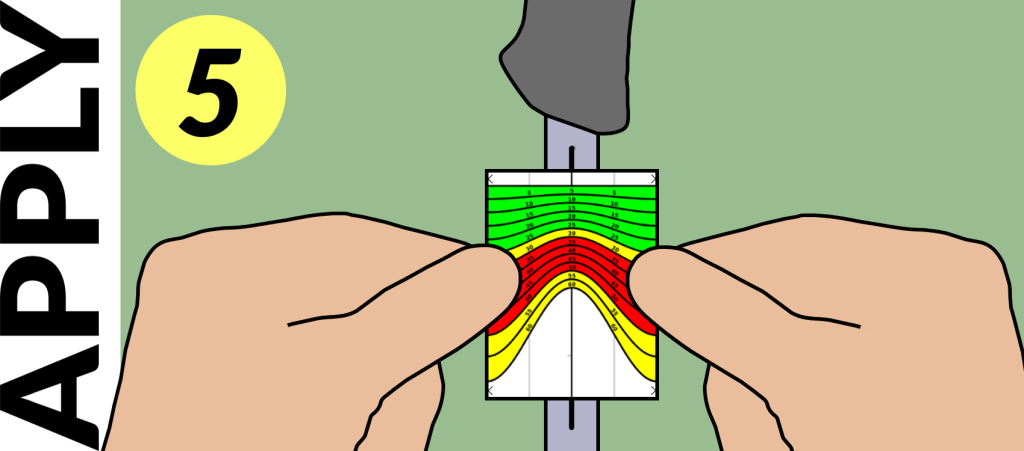
Peel the backing off your sticker, aligned to your vertical line, and press it in place.
DON’T STRETCH IT!
Stick the center section first.
Wrap the rest gently around your pole, then press firmly in place.
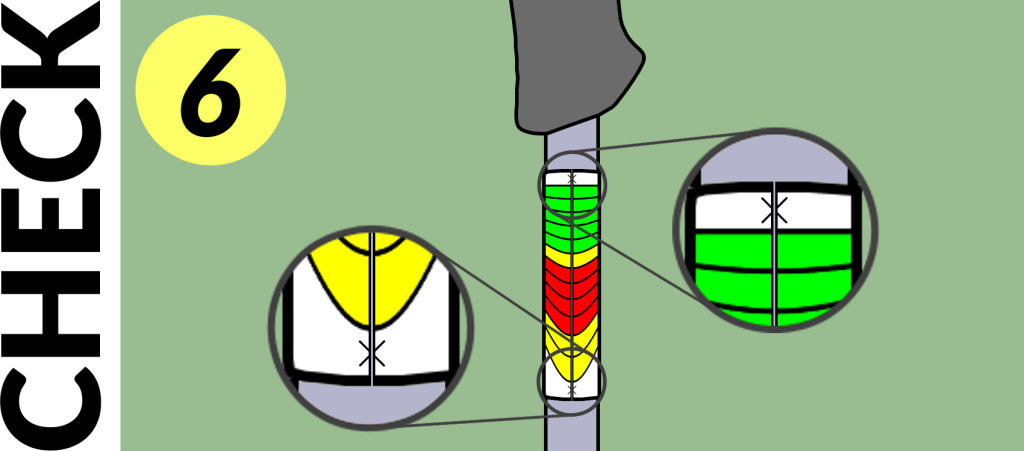
Look for the “X” marks to ensure proper fit and alignment.
A gap/offset/overlap of less than 1mm means you’re good-to-go.
Not quite right? Just peel off your sticker (careful not to stretch it) and try again. Or check the oops page for help.
Peel the backing off the included clear protective wrap, and wrap it around your sticker. This forms a critical ultra-durable layer to protect your PoleClinometer.
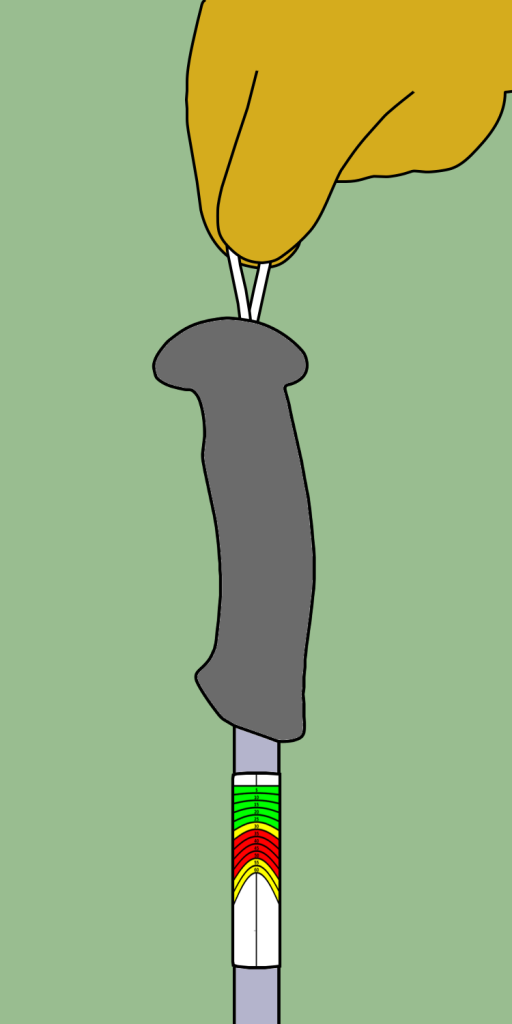 Optional: Add a “DANG-A-LOOP”
Consider adding a DANG-A-LOOP bungee to your pole. It’s included with your kit, and it’ll help ensure a precise dangle for the most accurate slope angle readings. Extra bonus: It’s a handy way to lash your poles together too! Here’s how to install yours.
