How To Install Your PoleClinometer® Slope Meter
It’s a precision instrument! Installation is easy, but shouldn’t be rushed. Follow the above video or the below steps to get it on there right.
You’ll Need
- your ski pole
- a PoleClinometer kit
- a pair of scissors
- a felt tip marker (optional)
- a heat gun or lighter
Step-By-Step
Follow these simple instructions for an accurate install.
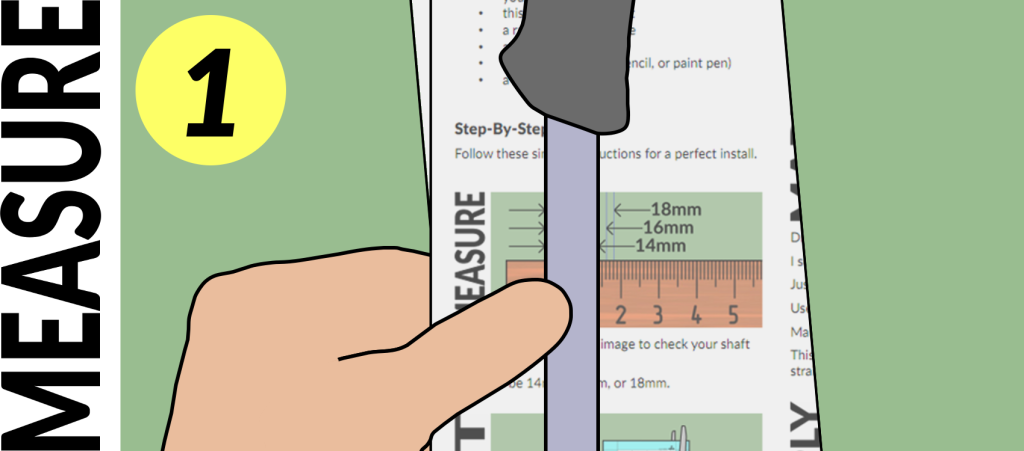
Measure your ski pole’s upper shaft diameter.
Use the image in your kit instructions or a metric ruler.
It should be 14mm, 16mm, or 18mm (see fit page).
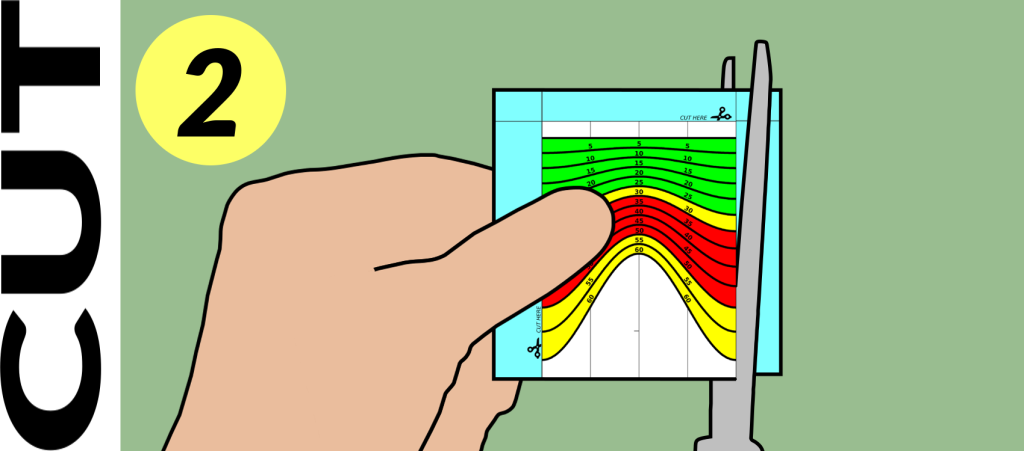
Find the sticker marked with your pole’s diameter.
Cut it out where indicated.
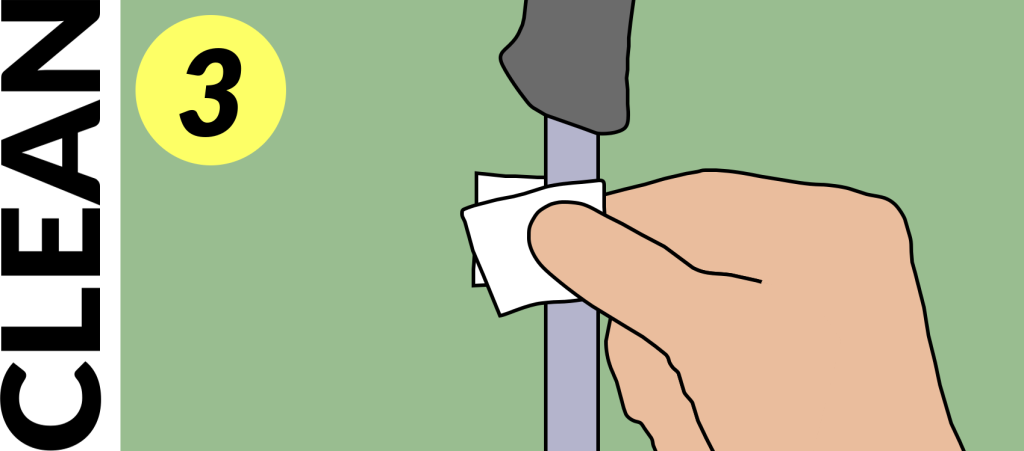
Wipe your pole shaft clean using the provided alcohol wipe.
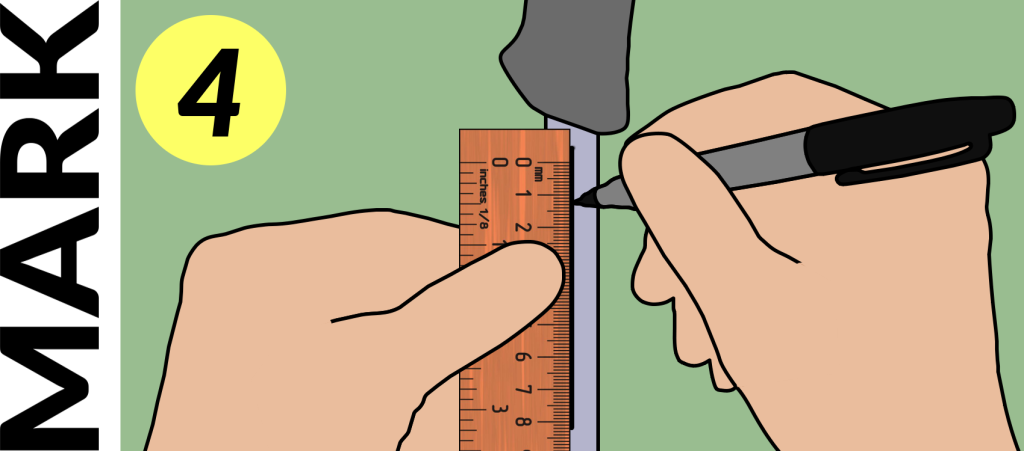
Draw a VERTICAL LINE on the SIDE OF YOUR POLE.
I suggest the left side of your pole if you’re right-handed.
Just below the grip is usually the best place.
Make sure your line is a bit taller than your sticker.
No marker? No worry. Just carefully eyeball it in the below step.
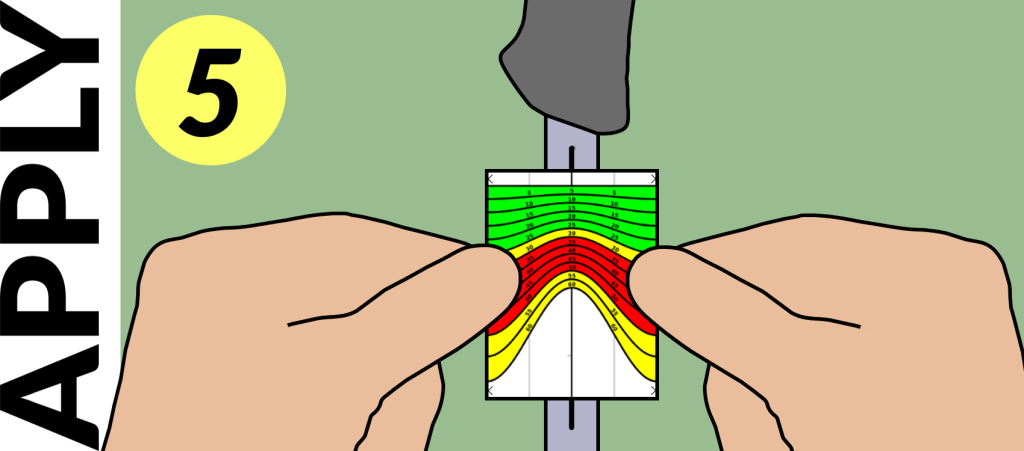
Apply the sticker aligned to your vertical line.
DON’T STRETCH IT!
Stick the center section first.
Wrap the rest gently around your pole, then press firmly in place.
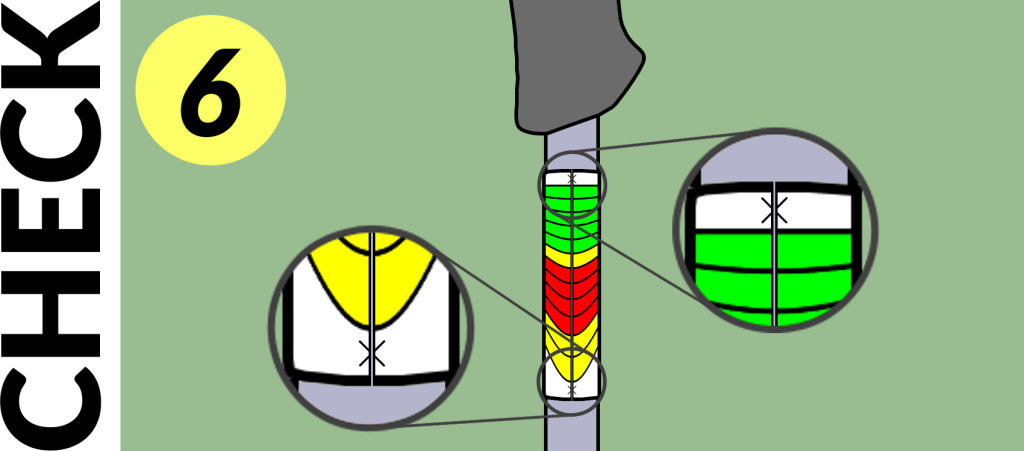
Look for the “X” marks to ensure proper fit and alignment.
A gap/offset/overlap of less than 1mm means you’re good-to-go.
Not quite right? Just peel off your sticker (careful not to stretch it) and try again. Or check the oops page for help.
Remove your pole basket or lower pole section.
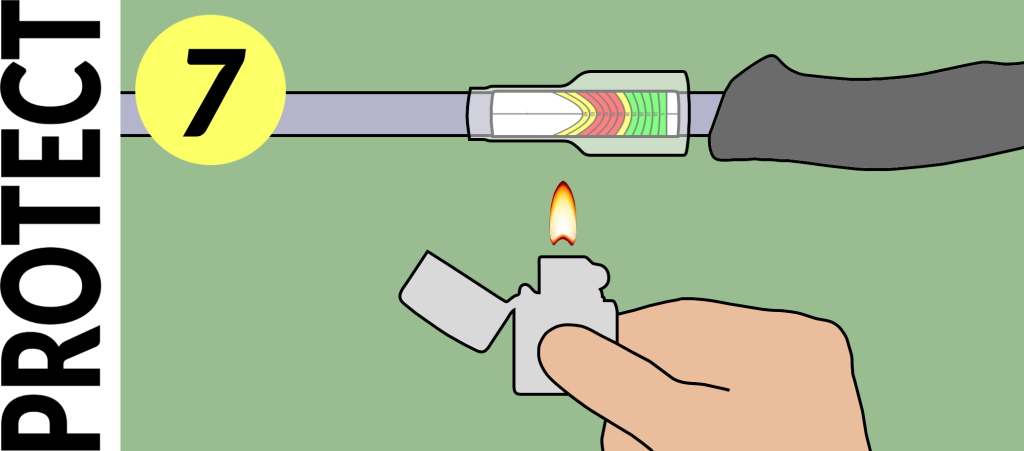
Slide the clear protective sleeve up the shaft of your pole to cover your sticker*.
Use a heat gun (on LOW setting) to heat-shrink it in place. It’s easy!
No heat gun? No problem. The shrink-it page shows how to do it with just a lighter.
*Problems getting the sleeve in place over your sticker? Check the get-it-on page for some suggested workarounds.
NOTE: Though not exactly necessary, the protective sleeve is highly recommended to keep your sticker from being shredded by everyday abuses. The sticker is waterproof and UV resistant with or without the sleeve, but is much more tolerant of physical abuse with the sleeve in place.
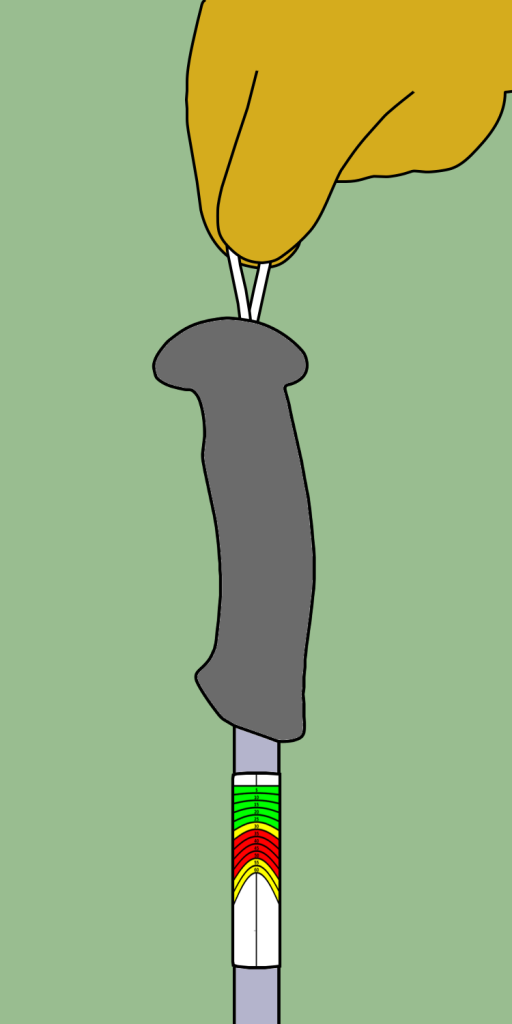 Optional: Add a “DANG-A-LOOP”
Consider adding a DANG-A-LOOP bungee to your pole. It’s included with your kit, and it’ll help ensure a precise dangle for the most accurate slope angle readings. Extra bonus: It’s a handy way to lash your poles together too! Here’s how to install yours.
